Drip Irrigation with a Rain Barrel – How to Build a Simple System Yourself
Watering a garden is not particularly difficult. The problem starts when you have to do it regularly.
For a few pots, a watering can is enough. But with more plants, a flower bed, or even a small garden, daily watering quickly becomes another task to deal with — especially in summer or before going away.
That is why I decided to install a simple drip irrigation system powered by a rain barrel.
I do not have a large garden or a professional irrigation setup. I wanted something suitable for a small space: simple, affordable, easy to adjust, and flexible enough to automate later.
After installing it, I found that the system itself is actually quite straightforward. The part that requires the most attention is planning the connections properly and making sure all the components are compatible.
In this guide, I will show you how the system works, what you need to build it, and what to watch out for so you can avoid some of the mistakes I ran into during installation.
How does drip irrigation work?
The principle is very simple.
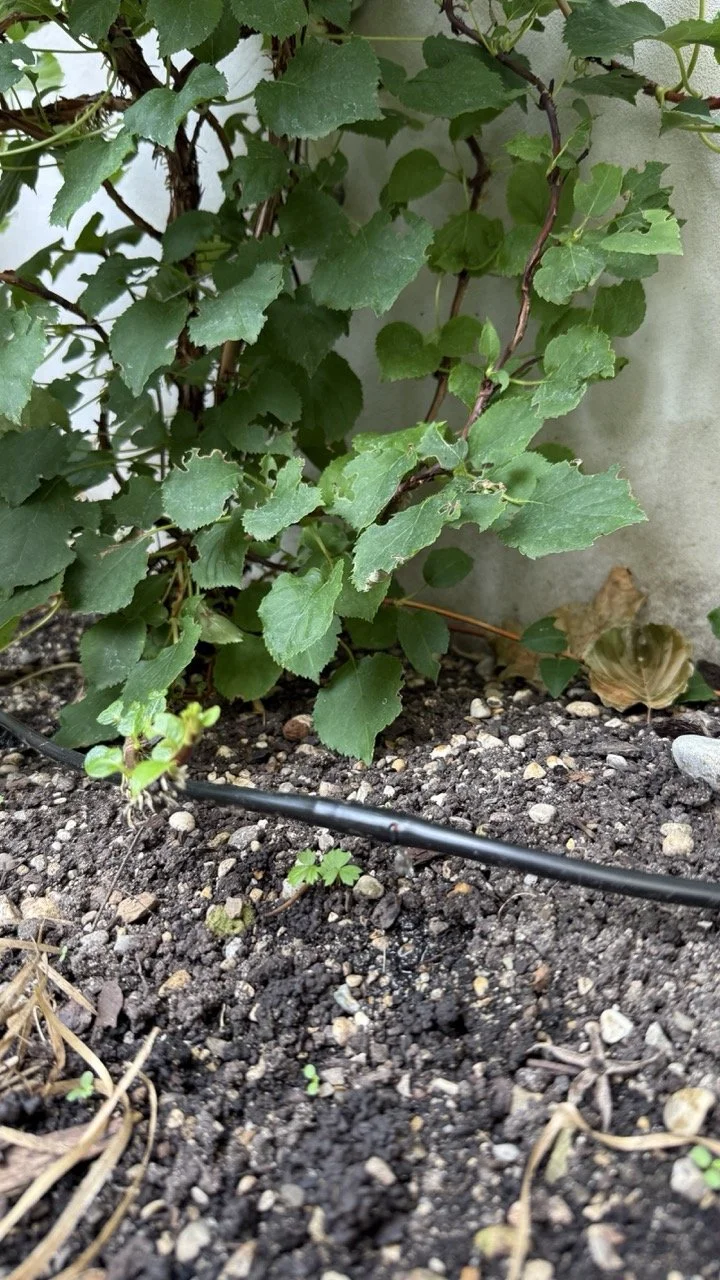
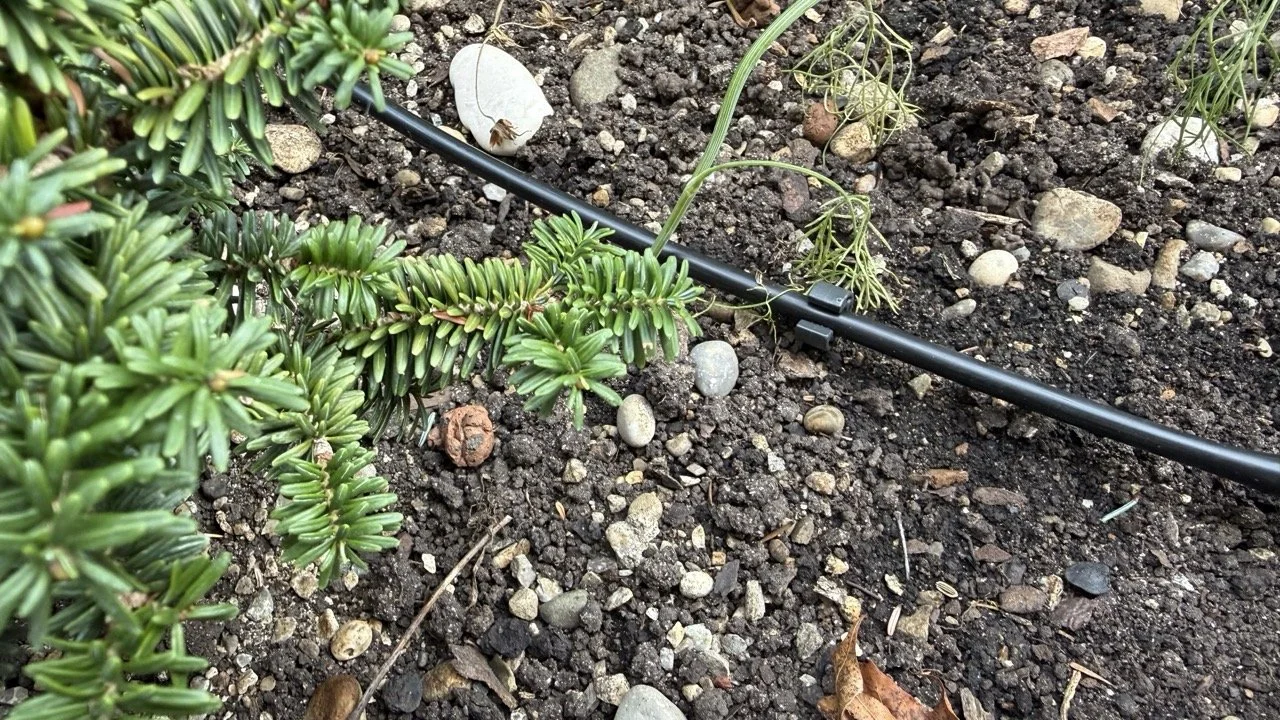
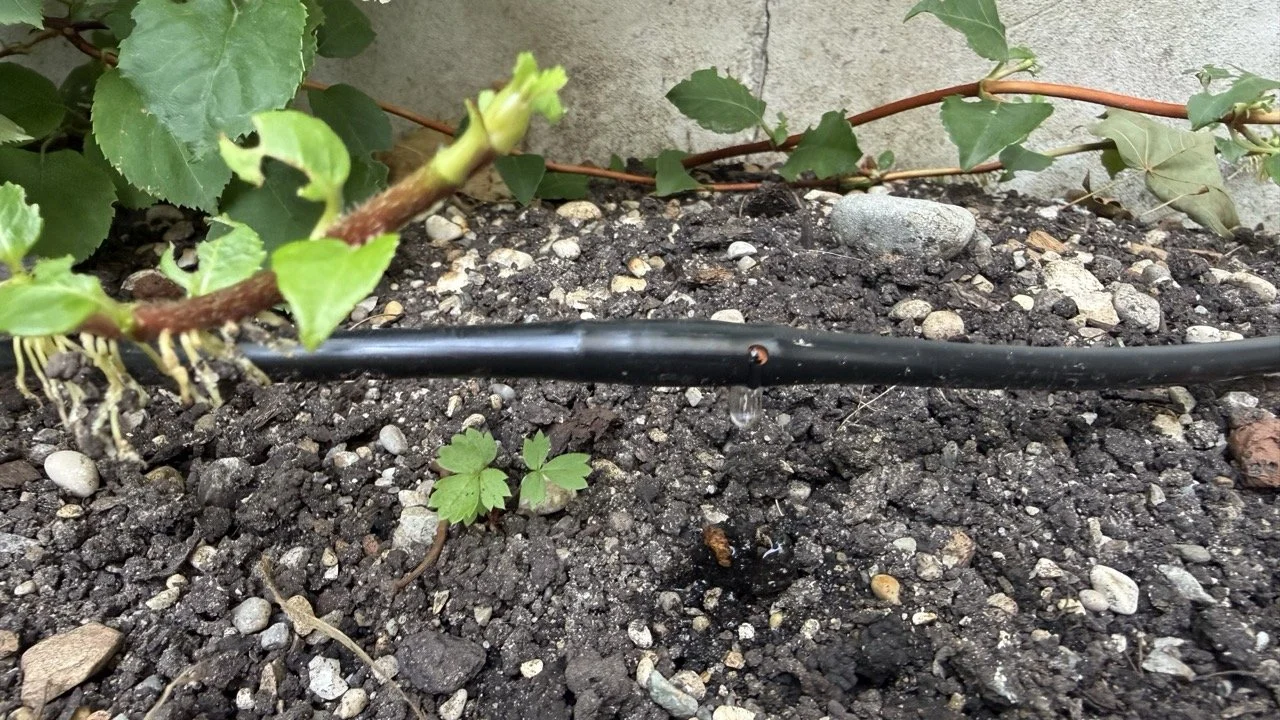
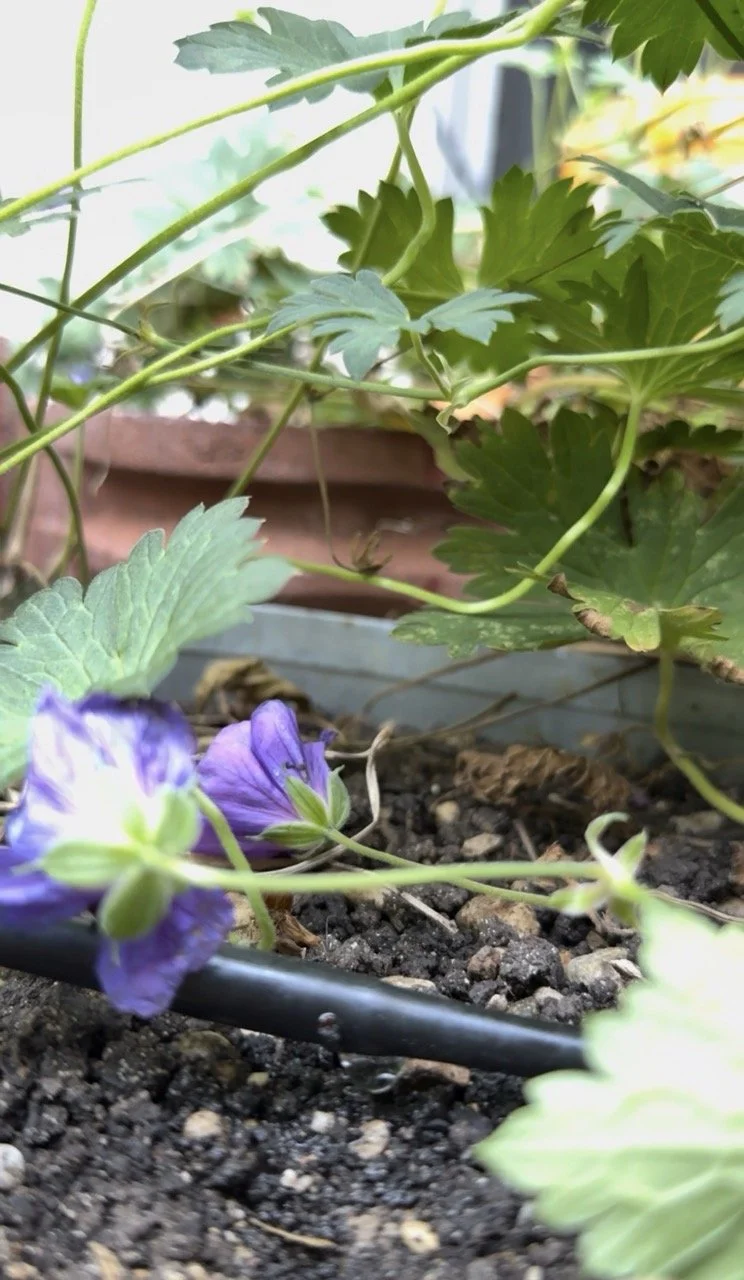
Instead of watering the entire flower bed with a hose or sprinkler, you run a thin drip line between the plants. Water is released slowly and in small amounts, directly near the root zone.
The system can be supplied from:
an outdoor tap
a water tank
a rain barrel with a pump
In my case, the water source is a rain barrel.
The pump draws water from the barrel and pushes it into the thin irrigation lines. From there, the water is distributed through the drip pipe. In selected places, you can also add individual drippers.
Later, the whole system can be connected to a simple timer or smart control.
Why did I choose this system?
The main reason was simple: I wanted to reduce the amount of manual watering.
But drip irrigation has another major advantage: the water goes where it is actually needed.
When you water with a hose, some of the water ends up on leaves, paths, or areas of soil between plants. With drip irrigation, you can control the watering area much more precisely.
In practice, that brings several benefits.
Less daily work
Once the system is properly laid out, you do not have to keep unrolling a hose or water every part of the bed separately.
Better use of rainwater
If you have a water tank or rain barrel, you can use collected rainwater instead of watering the garden with tap water.
Water closer to the roots
The drip line delivers water directly onto the soil surface. The plants themselves do not need to be sprayed unnecessarily.
Easy to automate
With a suitable controller or smart plug, the watering can be started automatically.
Easy to adjust later
This is especially important to me in a young garden.
Plants grow, beds change, and sometimes things get moved around. A Micro-Drip system can be expanded or rearranged relatively easily without redesigning the entire setup from scratch.
What did I use in my own setup?
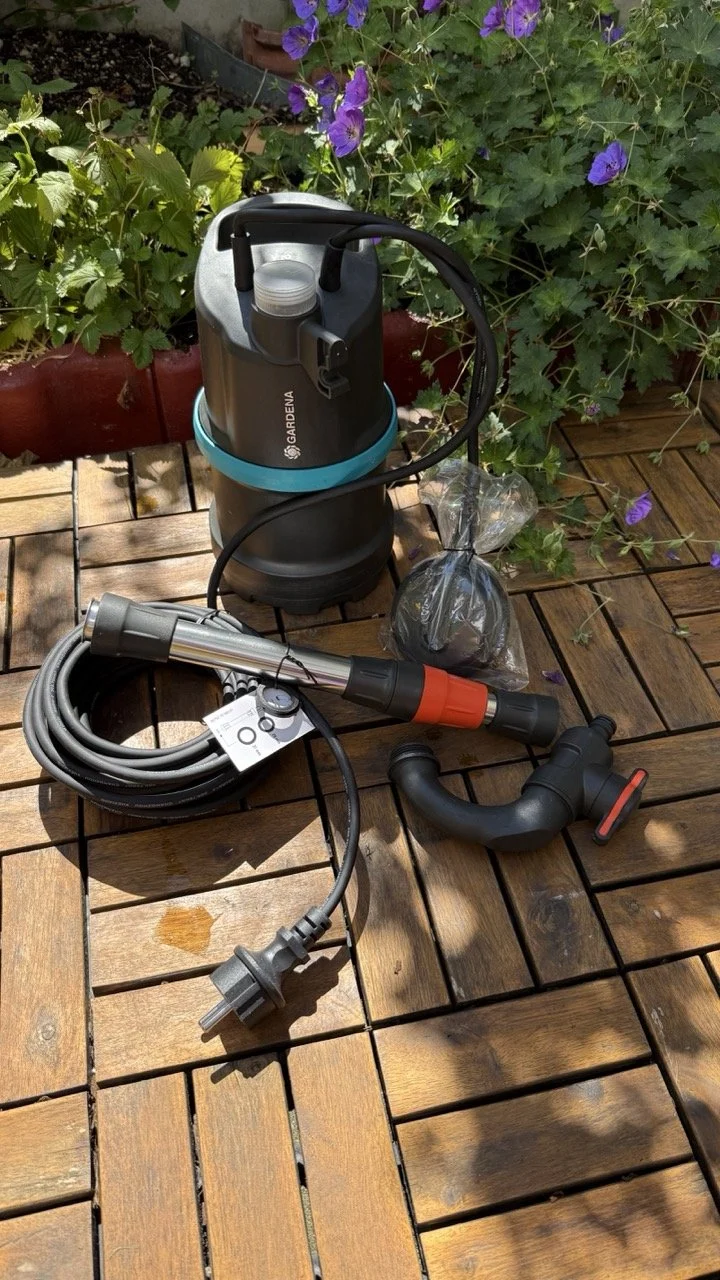
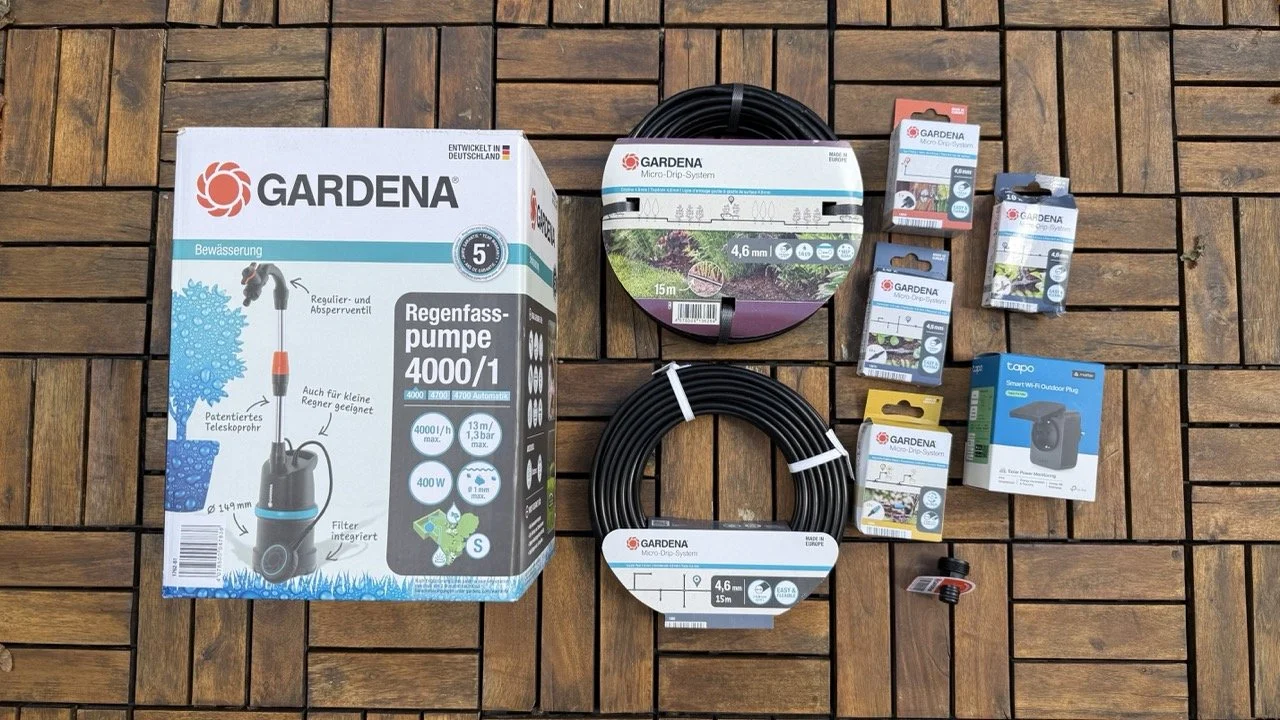
My system is based mainly on components from the GARDENA Micro-Drip-System. This is not a sponsored collaboration or paid advertisement.
Not every component has to come from the same manufacturer. However, compatibility is particularly important with connectors and other water-carrying parts. For a first system, sticking to one standard makes installation much easier.
I used:
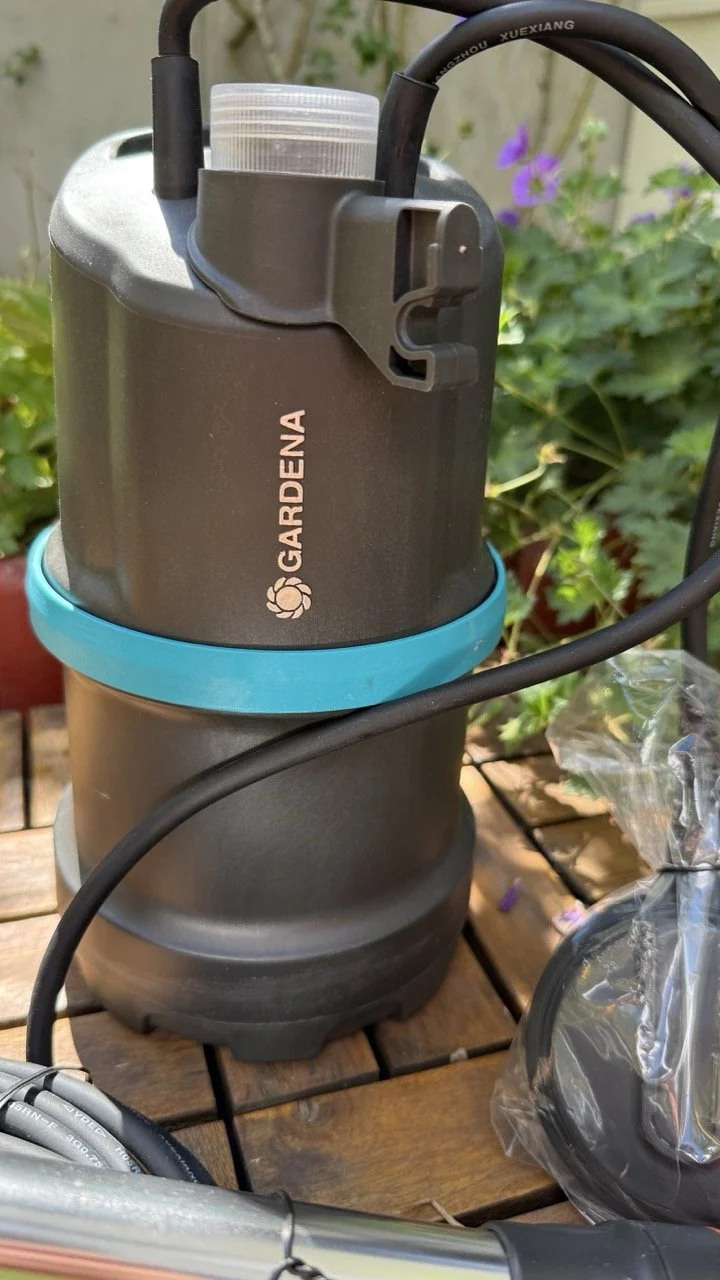
Pump: GARDENA Rain Barrel Pump 4000/1
Supply line: GARDENA Supply Pipe 4.6 mm, Art. 1350
Drip line: GARDENA Dripline 4.6 mm, 15 m, Art. 1362
Connectors: GARDENA Connectors 4.6 mm, Art. 13213
T-joints: GARDENA T-Joint 4.6 mm, Art. 13211
Individual drippers: adjustable GARDENA drippers, for example Art. 13305
Pipe holders: GARDENA Pipe Pegs 4.6 mm, Art. 13218
Control: Tapo Smart Plug
Water source: rain barrel
For individual plants, you can also run thin 4.6 mm lines and finish them with a separate dripper.
How much does a system like this cost?
That depends mainly on the size of the installation and on what you already have.
The pump is usually the most expensive single component. If you already have a suitable pressurised water source, the system can be much cheaper.
For a small setup, a realistic budget is roughly:
Rain barrel pump: around €50–90
15 m drip line: around €20–35
Supply line: around €10–20
Connectors, T-joints and end pieces: around €10–30
Pipe holders: around €5–15
Smart plug: around €10–20
In total, I would budget around €100–200 if you are building the entire system from scratch, including the pump.
Not every component needs to be a premium branded part.
Simple holders used to secure the line to the ground, for example, can often be bought much more cheaply from other manufacturers. The main thing is to make sure the diameter is correct.
For connectors, adapters, and anything that actually carries water, I would pay much more attention to compatibility.
The most important thing before buying anything: map out the whole system
This is probably the most important tip in this entire guide.
Before ordering anything, write down the complete path of the water:
rain barrel → pump → pump outlet → adapter → supply line → drip line → end piece
It sounds obvious, but most problems happen where different pipe diameters meet.
In my case, the Micro-Drip system uses thin 4.6 mm lines, while the outlet from the pump is obviously much larger.
So you cannot simply buy a pump and a drip line and assume they will connect directly.
Check every transition between different diameters before placing your order.
How should you lay the drip line in a flower bed?
This is where it is easy to overcomplicate things.
Your first instinct may be to run the line directly to every single plant or even make a separate loop around each one.
In most flower beds, that is not necessary.
Water does not stay exactly where it leaves the dripper. It also spreads sideways through the soil.
That is why it is better to think about watering the root zone of the whole bed, rather than trying to place one dripper directly under every stem.
In a wider bed, you can lay the drip line:
in parallel lines
in a loose zigzag
along the natural layout of larger plant groups
As a starting point, you can use around 25–35 cm between neighbouring sections of drip line.
But this is not a fixed rule.
Soil type matters a lot.
In heavy clay soil, water spreads further sideways. In very light, sandy soil, it moves downward more quickly.
The final layout should therefore be adjusted to your own garden.
Does every plant need its own dripper?
No.
This is something I would add only later if needed.
I would start with a simple backbone made from drip line and see how well it waters the entire bed.
Only after that would I add individual branches.
They are especially useful for:
young trees
larger shrubs
plants with significantly higher water needs
large containers
areas that are not reached well enough by the main drip line
In those places, you can add a T-joint, run a thin 4.6 mm line, and finish it with an adjustable dripper.
That is much easier than building a complicated network for every single plant from the start.
Do not cut everything immediately
This is another thing I would deliberately do differently during a first installation.
Leave some extra pipe.
Plants in a real garden do not always stand exactly where they looked best on a plan. After the first test, you may also discover that one section should be moved slightly.
So I would first:
lay out the entire system
secure it only loosely
start the watering
check all connections
observe the moisture in the soil
adjust the layout if needed
only then cut off the excess
A few extra centimetres of pipe during testing are much easier to deal with than a pipe that turns out to be too short.
How do you close the end of the line?
The final section of the installation must be closed with a suitable end plug.
Do not leave the line open, because a large part of the water will simply run out of the end instead of being distributed properly through the system.
During installation, you can leave a longer section rolled up as a reserve.
But the actual end should still be closed during testing.
Can the pump sit at the bottom of the rain barrel?
Yes.
A submersible pump can sit on the bottom of the tank, but it is worth checking how much sediment collects there.
If there is a lot of:
sand
sludge
leaves
other debris
it can be a good idea to raise the pump a few centimetres on a stable base.
The most important thing is to keep the water inlet clear.
It is also worth checking the filter or intake screen regularly.
Why can water keep flowing after the pump is switched off?
This was one of the more surprising things when I first tested my system.
You switch the pump off, but water continues to flow for a while.
That does not necessarily mean anything is wrong.
If:
the water level in the rain barrel is higher than part of the irrigation system
the lines are already filled with water
the water path remains open
a siphon effect can occur.
Water can then continue flowing by gravity even after the pump has been switched off.
If the flow gradually becomes weaker and stops, that is usually not a problem.
However, if the system continues draining a significant amount of water from the barrel after the pump is switched off, you should change the pipe layout or use a suitable anti-siphon solution.
How can you automate the watering?
The simplest setup does not necessarily need a dedicated irrigation controller.
If the pump starts whenever power is supplied, you can use a smart plug.
In my case, I use a Tapo Smart Plug.
This lets me create a schedule in the app, for example watering in the morning on selected days of the week.
If the specific model supports Matter, it can also be added to Apple Home. The pump can then be controlled together with other smart home devices.
There is one thing I would keep in mind:
Only automate the system once you know the irrigation itself is working properly.
First, learn how your own garden behaves. Then create a fixed schedule.
How long should drip irrigation run?
There is no single correct number of minutes.
The required watering time depends on:
soil type
number and size of plants
weather
sunlight exposure
length of the system
output of the drip line and individual drippers
That is why I would not set a permanent schedule right away.
Run the system first and then check the soil.
Not just at the surface.
See whether the soil is actually moist a few centimetres below the surface. This gives you a much better idea of whether the watering was sufficient.
For many garden plants, it is usually better to water the root zone less often but more thoroughly, rather than wetting only the top layer of soil every day.
Of course, during very hot weather, after planting new plants, or when watering containers, the required frequency can be very different.
First setup: step by step
If I were installing the system again, I would do it in this order:
Plan the route of the line without cutting it.
Secure the line loosely to the ground.
Check all adapters and connections.
Close the end of the system.
Fill the rain barrel.
Switch on the pump.
Check every connection for leaks.
Make sure water reaches the entire system.
After some time, check the moisture level in the soil.
Move the line where necessary.
Only at the end, shorten the pipes and add extra individual drippers.
This order saves a lot of unnecessary work.
The most common mistakes with a first system
After installing my own system, these are the things I would pay particular attention to.
1. Using the wrong diameter
A 4.6 mm line needs compatible components. A “small connector” is not automatically the right connector.
2. Not planning the connection from the pump to the Micro-Drip system
This is one of the most important parts of the whole setup.
Check exactly how you will get from the larger pump outlet to the thin irrigation line.
3. Cutting the pipes too early
Test first. Cut later.
4. Making the system unnecessarily complicated
Not every plant needs its own loop or individual line.
A simpler system is easier to adjust and expand later.
5. Laying the drip line too densely
More pipe does not automatically mean better watering. You also need to consider how water spreads through your particular soil.
6. Leaving the end of the line open
The system must be properly closed.
7. Placing the pump directly in sediment
If a lot of dirt collects at the bottom of the rain barrel, it is better to raise the pump slightly.
8. Automating before testing
Do not start with the schedule.
First find out how long the system actually needs to run to water your soil properly.
Is drip irrigation worth it in a small garden?
In my opinion, it can make a lot of sense — especially in a small garden.
You do not need a professional system with several irrigation zones, a complicated controller, and underground pipes.
You can start very simply with:
a rain barrel + a pump + one drip line
A system like this is especially useful if:
you have many perennials or larger containers
you collect rainwater
you do not want to water by hand every day
you travel during summer
you want to automate the garden gradually
For me, the biggest advantage is its simplicity.
I would not try to design the perfect irrigation system from the start.
First, lay out the basic drip line. Then observe the garden. Adjust the areas that need more water. Only after that, add automation.
There is one more advantage to this approach: the irrigation system can change together with the plants.